Showing posts with label Sunflowers. Show all posts

Friday, May 21, 2010

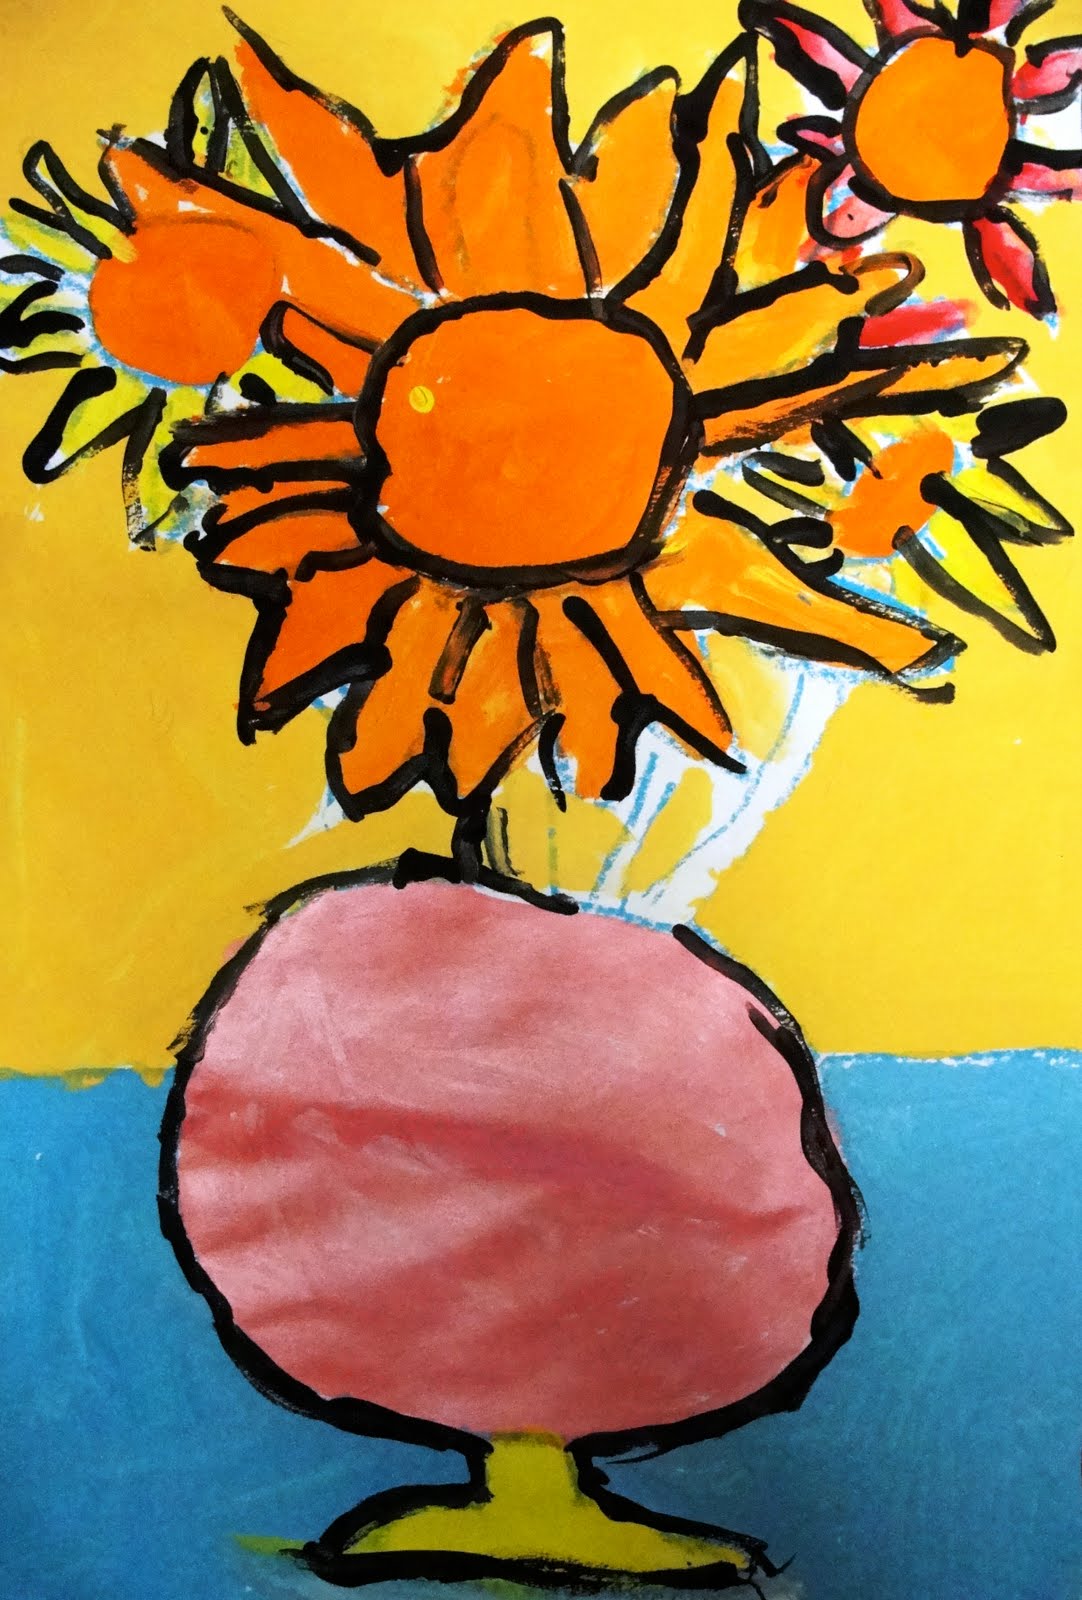
Van Gogh Sunflowers Art Lesson

A perennial favorite...what student can go through elementary school without completing his own version of Van Gogh's Sunflowers?
I usually do a collection of Sunflowers in oil pastel, but decide to try out a tempera paint version instead.

Here's what we did:
Using an oil pastel, students drew a vase, table line and the flower centers. I demonstrated this step first and gave all sorts of examples to encourage students to create a vase and flowers unique to them.
Then, students painted the "tables" in one color and the background in another color. For simplicity, I set out two colors. You may not choose to limit the kids this way, though.

This usually marked the end of our first lesson (approx. 45 minutes). For the next step, I set out an assortment of paints and demonstrated how to blend paint using the double-load technique. (dip paint brush first in one color and then another. Mix directly onto paper).
After painting the leaves and petals, children painted their vase and added shadows and hi-lights. Some children added shadows to the table as well. For a final flourish, the children opted to outline their lines with black or white paint or not at all. I left that decision up to them.

Second and Third Grade Results:


Friday, January 4, 2008

Van Gogh Sunflower Art Lesson in Oil Pastel

I was looking through my archives from last year and came upon these beautiful sunflower drawings. This is a lesson I usually do with my third graders. We study, of course, Van Gogh's famous Sunflower series by looking at how he created the sunflowers, vase and even his name.

The children start off with an 12" x 18" light blue colored paper. If you don't have lengthy art classes, I suggest you trim the paper to a 10" x 15" size. A bit more manageable for artists who need longer to color their work.
I instruct the kids to draw the vase first (sides and bottoms only) then the centers of the flowers. Some centers are round, some are oval, some are little balls. The petals, leaves and stems come next. Last is the table line.
Using a variety of oil pastels (I don't limit them to the colors Van Gogh uses) the kids color away. This takes time and I keep encouraging the kids to color all the blue paper away. This takes some prodding for some kids who want to finis fast, but this lesson really looks wonderful when the kids put in the effort. The last stage 9and some of my students take a while before reaching this stage ) is to add a black line around every petal, leaf, flower center, and vase. Worth it, I think!


(Students from Foothill School 2006)


(Joyce from Mountain View 2006)

Thursday, November 1, 2007

"Antiqued" Oil Pastel Flowers in a Vase


"What does antique mean? " I asked my enthusiastic group of third graders.
"Something that's not new," said the girl who is always first to raise her hand.
"Yes," I said. "But can you give me more detail?"
Hands shot up. "I know!" said one boy. "It means old. Like my mom."
"Hmm." I know this kid's mom and she's my age. "Not exactly. What about if I said I had an antique dresser. What would that mean?"
"That you couldn't afford a new one," another boy answered.
Good grief. Ask a simple question....

All I wanted to say was that we were going to "antique" our oil pastel drawings in art class. But what I got instead was the reason I teach in the first place. Kids say the cutest things!

Step One:
On the white board, demonstrate how to draw a vase, a table line, then circles for the center of the flowers. Give them different options for drawing the petals.
Then, ask the kids to chose a favorite color from the pastel palette with the rule that it should be a dark color. The kids then draw their vase, table line, flower centers, petals, leaves and stems. Using any color they wish, color in the shapes.

Tip: When the kids are about halfway through their coloring (slow part), demonstrate step 2. This gets them motivated!

Step Two:
Now for the fun part: Scrunching!!!
Demonstrate how to take their beautifully colored picture and crunch it together. Because the paper is stiff, the kids literally have to sit on their crushed up balled of paper or push hard with their hands in order to get the required wrinkles. After smoothing out the paper, the kids applied a watercolor wash to the entire surface.

Note: A tempera wash doesn't work. Liquid watercolor is best. I put out two containers of wash; one brown and one blue. The kids can chose which one they like.
When the wash settles in the wrinkles, it gives the picture an "antiqued" look.

Related Posts Widget for Blogs by LinkWithin