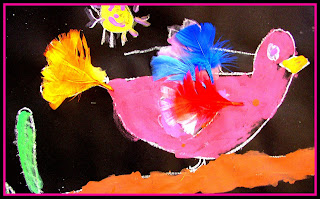
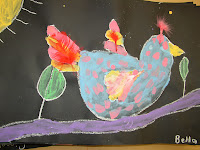
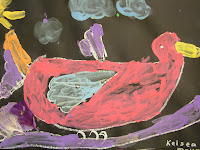
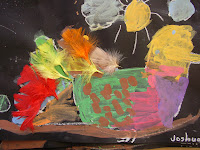
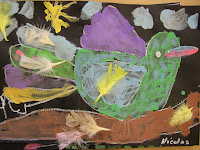
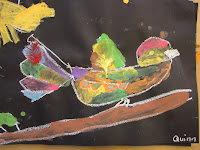
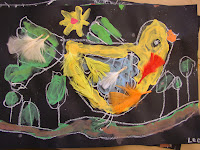
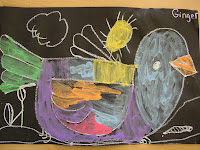
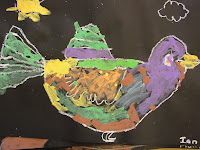
 What could be more fun than paint and feathers? For Kinders, nothing...except maybe spatter painting!
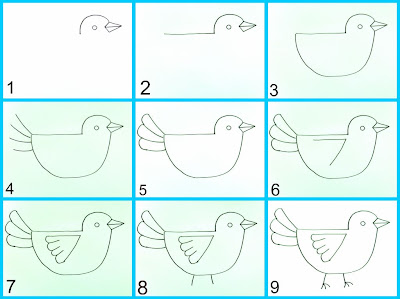
This lesson involves three steps: A directed line drawing for the bird, painting and then adding the feathers.
Start with an oil pastel in a light color if using black paper or a dark color if using a light paper. The choice is yours and the combinations are endless.
Directed Line Drawing of the Bird
Everyone has their own method for drawing birds. I find this shape easy and recognizable enough for all kids to master. Start with a circle for the eye.Tip: To ensure proper placement of the eye, I explain where the eye should go, then I have each child point to that place on their paper. After receiving a thumbs-up from me, we are ready to proceed. This is an important step as most children will put the eye anywhere on the page, resulting in frustration with the later steps.
On the right side of the page, directly in front of the eye, draw an arrow pointing to the eye. This is the beginning of the beak. From here, the illustrations should be enough to get you going.
 Now that the children have drawn a bird, it's time to paint. I use tempera paint on the construction paper, but here is a tip. Add white tempera paint to your regular colors of blue, yellow, red and green. The added tint will help make the paint more vibrant on the black paper. If using white paper, there's no need to add the tint, unless you want a pastel look.
For the final flourish, add feathers! You can pick up a large pack at any craft stores. I usually set a limit of 3-4 feathers per student. This way, you eliminate the threat of covering up the entire painting!
Have fun.







7 comments:
LOVE this bird with feathers!! My kids thank you :)
I am going to give this a try with my class next week. I hadn't thought of mixing white paint into my coloured paints. Thanks for the tip. As a non art trained teacher working with special needs kids I find your site very helpful. Thanks for all the effort that you put into writing the procedures and explaining the theory aspects of the lessons.
You are so welcome Sue and Sara. I'm glad you let me know that the extra instructions help, Sue.
For years I looked for art lessons on the internet and found great pictures. But I had no idea how to do them. So what you are looking at is years of teaching these lessons and the insight of what works for the little ones and what doesn't.
Your comments gave me something else to think about as well. I teach many inclusion kids in my regular art class and there are some lessons that are far more accessible than others. I should note this when writing up the posts.
I just discovered your blog! I'm an art teacher in Oakland (K to 8th). I wasn't feeling very inspired lately and I was struggling to come up with new projects for my little K's. Thanks so much for taking the time to post your ideas and sharing them with the world! You really saved my lesson plans this week :)
- Tina
Glad you found me, Tina! Thank you so much for your comments. Let me know how the projects turn out!
I just have to say THANK YOU for your time and effort. I'm a homeschooling mom and this is SO helpful!
I am a retired Kindergarten teacher that may be teaching in a private school next year...I am so excited to find your blog...thanks!
KajunKJ
Post a Comment