Friday, November 27, 2009

DEEP SPACE SPARKLE presents...Line + Color= Fun!

Who isn't looking for an art lesson that requires only a black marker and white paper? On the days that I don't have time for elaborate painting projects, I pull out one of these lessons. My newest lesson booklet "Line + Color = Fun" delivers lessons in illustration, pattern, contrast and color.
  • Russian Architecture is based on the famous St. Basil's Cathedral. Do the line drawing or add the chalk pastel background. The results are stunning!
  • Folk Art City introduces children to the whimsy of folk art inspired by a children's book illustrator. Learn cool tricks for drawing "folk art perspective" as well as cars, skyscrapers and houses.
  • Crazy Critters is three lessons in one! Learn how to draw beetles, crickets and other strange looking insects, then select an option for coloring. Very easy for the teacher and terrific fun for the kids!
This 22-page booklet comes with four original Deep Space Sparkle Drawing Handouts, complete photo tutorials with tips, and of course, sample of student works.
ALL PDF'S ARE DOWNLOAD ONLY. THEY WILL NOT BE EMAILED OR MAILED.
Only $5


Tuesday, November 24, 2009

"Katrina" Day of the Dead Project for Kids

Paper-bag "Katrina's" ended our Dead of the Dead unit at Brandon School. These festive, vibrant sculptures were a blast to create. The fifth grade students worked hard taping paper bags and paper towel rolls together, adding paper plate hats and trying hard to find ingenious ways to make the arms stay together! After completing the armature, paints were mixed, sequins gathered and the fun began...


The "Katrina's" took three, 45 minute sessions. Constructing the armature was the most difficult but the students listened well and got busy after the demonstration. Painting and decorating was a huge amount of fun. I put supplies on each table and gave minimal instructions. This seemed to work well, as the kids engaged their imaginations freely!

Friday, November 20, 2009

Family Art Nights...

I received this email from a Deep Space Sparkle reader regarding hosting a Family Art Night. I hadn't done one in years and wasn't even sure I could remember what I did, but a little searching through my old photos was successful in jogging my rapidly deteriorating memory!

"I am planning a Family Art Event at my school. We are planning to have different stations set up for kids and their folks to experiment with different art materials and have fun making art together as a school. Have you ever had an event like this at your school? If you have and have any suggestions or advice, I will listen with grateful ears! I am trying to collect information and tips from other art teachers who have done something like this before. If you ever have a moment to share something you have learned from hosting art events, I would be so appreciative!" -Lisa Miller

Before I became an art teacher, I volunteered in my children's school assisting classroom teachers with art lessons, ordering supplies and assisting with basic techniques. After a while, the principal asked me to organize a Family Art Night. Huh? We had science nights before but never an art night. Heck, we didn't even have regular art in the classroom. But...it sounded like a great idea, so I said "Absolutely!"

Our school was lucky to have a forward-thinking principal who believed in the value of art even though test scores dictated a much different agenda. Still, I wasn't quite sure what an "Art Night" would involve, and was a little hesitant on my ability to pull off an event where children and parents could experience art together. The principal offered up her staff (a combination of regular classroom teachers and student aids) and together we brainstormed on lesson possibilities.

I don't have all my notes but I believe my list went something like this:

  • Printmaking Station: Etch foam with a dull pencil, use a brayer to roll on paint. Print onto pre-cut 5" x 7" paper.
  • Water Color and Oil Pastel Resist: Set out small pieces of paper, oil pastels and pans of watercolor paints and let kids free-paint.
  • "Antique Flowers" Watercolor Wash: Use oil pastels to draw a vase with flowers. Crumple paper to form wrinkles. Cover with watercolor wash. Here is a lesson link.
  • "Symmetrical Butterfly": Fold a piece of white paper in half, draw half a butterfly on one half with an oil pastel, fold over and press hard. Trace faint outline on other side and fill in with watercolor. Here is a lesson link.

  • Stuffed Fish: Children select large fish shape and staple paper together. Paint with bright colors and add glitter. (One teacher was anointed "The Glitter Queen" and sprinkled glitter on the wet paint. A large table was needed for this project as well as large vats of pre-mixed paints, large brushes and plenty of staplers!
  • Oil and Chalk Pastel Drawing: Children use oil pastels on pre-cut black paper then smudge chalk pastels over top.
  • Symmetrical Vase with Stamped Flowers: Children cut a vase from pre-folded card stock and glue onto a small piece of paper. Using sponges (various shapes) dipped in paint, they stamped flowers and designs onto their paper. Here is a lesson link.
  • Play-Dough Color Wheel: Children blend colors using yellow, red and blue play dough.

Set-up: This was a biggie. I knew it would be difficult to stage actual art demonstrations as people needed to be able to come and go freely. So to make the art project assessable to everyone, I created demo boards. I drew or created the "steps" in the art project and used MS Word to create printable instructions. The steps were easy to follow for anyone.There is an example above (Symmetrical Butterfly).

Art Storage: Once a child completed a project, what were we suppose to do with it? They couldn't quite carry it around as most of the projects remained wet for a while. One of the teachers suggested that we convert an unused portion of our cafeteria for art storage. This is what she suggested: Lay colored sheets of work paper along floor (as long as you can make them...about 20 feet). For each color, label the ends: LAST NAME A-C, LAST NAME D-F, etc. When a child finished a project they took the wet paper out to the paper row and placed their art under the initial of their last name. Each row was a different color so the child could remember what color he was. The system worked beautifully.

I hope this helps, Lisa! If any other art teachers have done anything similar, please weigh in. It'd be fun to hear different ideas and what worked and what didn't.

Monday, November 9, 2009

Fish Printing Project


Here's a quick lesson that will only take about one hour to do. It requires a supply of foam, so either purchased the foam sheets from your favorite art catalog or recycle the foam lunch trays or even meat trays from home.

Step One:Painting the Background
I used glitter liquid watercolors for this project but any paint would do, even a nice even coat of tempera. In any case, set out one color and a few large wash brushes and ask the students to lay a wash over the entire sheet of watercolor paper (size is up to you). If you use tempera paints, water them down significantly and use just one color. Set aside to dry (about ten minutes for watercolor).

Step Two: Etching the Fish Design
Hand a small piece of foam to each child (approx 2" x 4"). Draw a fish along the entire length or foam. Add scales, eye, designs, etc. Then, with a dull pencil, push down all of the foam surrounding the fish. This takes a bit of time.

Step Three: Printing the Fish
Place a palette of blue tempera paints of the table. I selected greens, blues, whites and purples.
With a dry brush, apply paint to foam fish and gently press the fish onto the watercolor paper. if your foam is thin like mine, encourage the kids to tap gently instead of rubbing so the fish won't move or smear.


Step Four: Repeat Fish Print
Encourage the kids to overlap their fish and point them in the same direction so they look like a school of fish.
Third Grade Results!


Friday, November 6, 2009

Getting the most from your students and common paint problems


I've received so many amazing emails lately. There is just nothing better than a big thank you for all the work that goes into blogging. When I started this blog a couple of years ago, there were so few of us. Maybe two or three people with art blogs. Now, there are hundreds! Yay, for us! Many of my emails have desperate pleas associated with them. I posted this article last year, but I thought I'd post it again with a few updates.

Inspired by a recent comment from Sarah S, I thought I'd address a few concerns that some teachers face when teaching art to their students.
Sarah commented that when she painted with her students, the projects never really seemed to "turn out". I know exactly what she means. Perusing art pages and seeing countless beautiful works from little bitty kids makes me wonder too, how the heck did they do that? First of all, it can be done, BUT it takes a bit of organization and a few fail-safe techniques. Here are my secrets....

Tip #1 Making Children's Art look
"Picture Perfect".
Okay. So before I go any further, I want you all to know that I believe strongly in the mantra that art is about the process not the end-results. Still, it doesn't hurt to make the most out of every project.
For painting lessons with younger kids, I often hand out a black oil pastel to trace over the lines once the paint is dry. Similarly, black paint is used for the same purpose. This simple step creates the strong contrast that is so appealing in kid's art.

Here are a few examples:


(Click on the photos to read the instructions)

Tip #2 Setting up & Storing Paints

Fact: Paint projects scare teachers. All that prep and mess. Not to mention the student who can't seem to finish his project. But parents love art and so do the kids so you know you gotta do it.
Here are a few tips that can help make the inevitable less daunting.

Instead of an individual paint palette, try encouraging your students to share. That's right. Share.
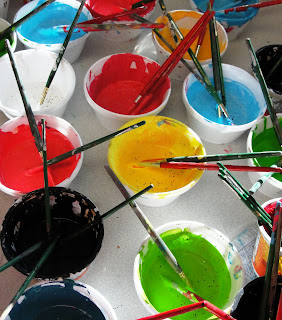
I use plastic "muffin tins" for paints. These can be found in any art catalog and are quite helpful in reducing the amount of paint you use and saves time in set-up. If I have 25 students, I set out one tray for every table. That means 5 trays for 5 tables. Easy peasy.
Each child then gets a paint brush and access to two water containers. If you are in a classroom with individual desks, art set-up will be a bit tough. This is a worse case scenario if you ask me! All I can suggest is to use paper plates with small blobs (quarter size) on each plate.

What about mixing?
I get asked this all the time. I encourage my students, especially the lower grades, to mix paint on their artwork. Yes, you read correctly. Kid's often get way too hung up on finding the "perfect" color and mixing becomes a waste of time. I teach the kids to "double load" their paint brush. Dip the brush into one color (say yellow) then dip straight away into another (say blue). Now, the paintbrush has two colors on the bristles. The kids love smearing the brush along the paper and seeing the colors mix by themselves. A bit of art magic.This can get messy but the more your reinforce this concept of sharing paint, kids begin to ease up on their personalized agenda for getting their own palette and revel in the fun of art. If you have small classes, and providing personalized palettes is an easy thing, then by all means do it.

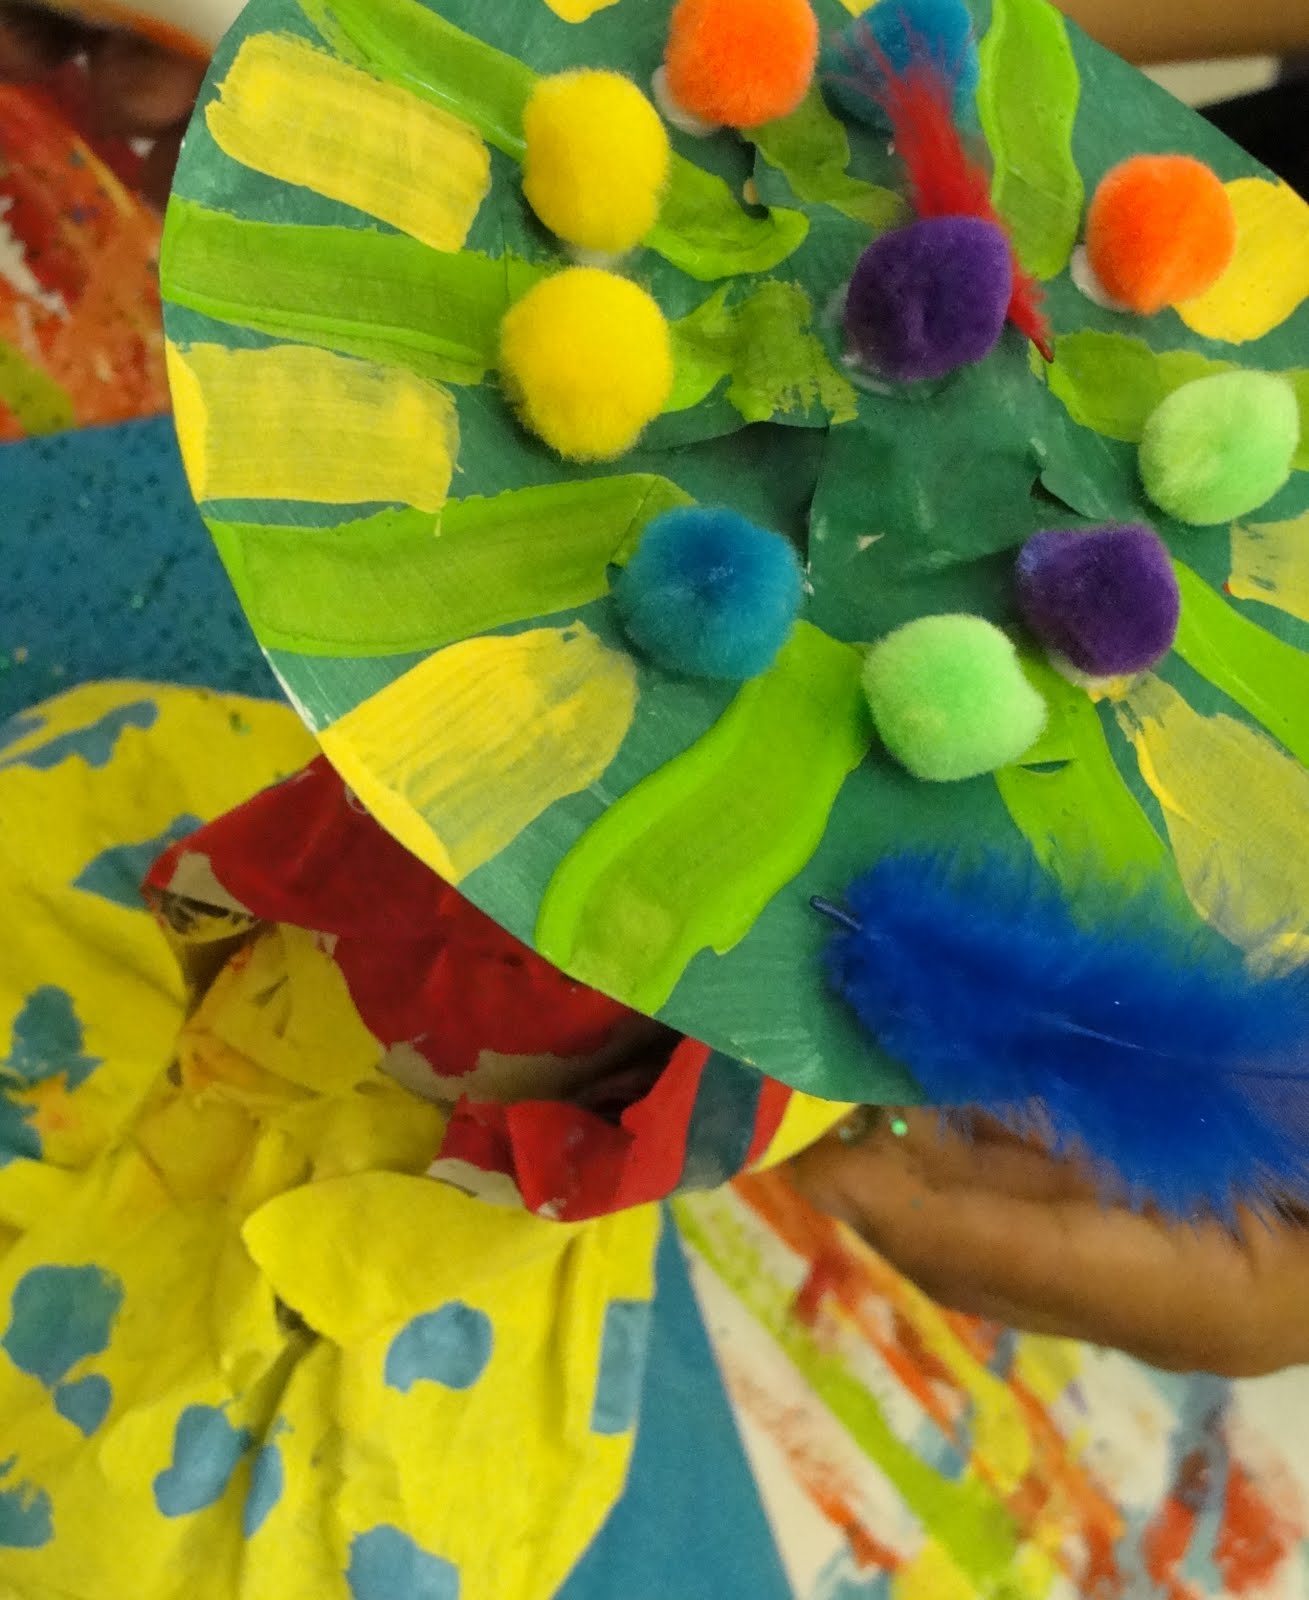
The method above only applies to lessons when the paint colors are up to the students. For a color mixing lesson like my Colorwheel Clowns, I use plastic or paper plates.

How do I store my left-over paint?
Everyone has their system for saving paints. A few teachers I've know about avoid paint altogether. Definitely not the approach I'd recommend.
I rarely save my paints. I try to use just enough paint for my class then end up washing the palettes afterward. But this is getting tiresome.
The exception sometimes goes for liquid watercolor paints. Since I use the "muffin" type palette (shown above), it's almost impossible to pour off the remaining paint. So, if I need to save the paint because I have a class the next day working on the same lesson, etc., I cover the trays with plastic wrap. Simple, huh? I stick the palettes in a cupboard and remove the wrap when I need it. Of course, this only works if you have enough paint trays for the rest of your classes.

I've seen a few pictures of art rooms on the Internet and I know that some teachers still use Styrofoam egg cartons as their go-to paint caddy. This is a great use for your recyclables. I noticed another art teacher uses small plastic condiment cups (the kind you get in Mexican restaurants to hold salsa). These are perfect! They are the perfect size for paints, fit nicely in my muffin tin holders (so they don't spill over) and...the best part...they come with snap on lids! Costco or Smart and Final will have these.

I hope this helps you conquer some of those pesky problems that are all too common in an art room. I know I have my won weakness, such as Clean-Up. My Achilles heel, for sure. Add your own two cents and let's see if we can solve more problems.
Related Posts Widget for Blogs by LinkWithin